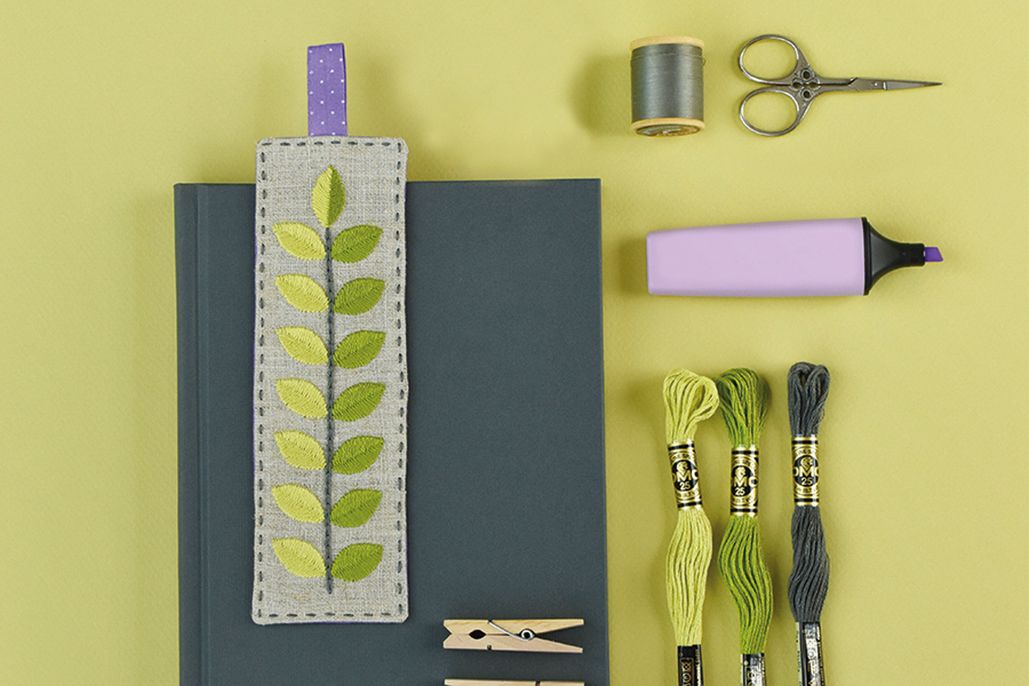
Embroidery is a beautiful art form that has been practiced for centuries, but for beginners, it can be daunting to know where to start. In this comprehensive guide, we will take you through everything you need to know to begin your embroidery journey. From selecting the right materials to mastering basic stitches, this article is your one-stop resource for all things embroidery for beginners. Let’s dive in and start creating something truly special with just a needle and thread.

Embroidery Essentials: Understanding Different Stitches
In the wonderful world of embroidery, there are various stitches that you can use to create beautiful designs and patterns. Understanding different stitches is essential for any embroidery enthusiast, whether you are a beginner or have been stitching for years. Each stitch has its own unique style and purpose, so knowing when and how to use them can take your embroidery to the next level.
One of the most basic stitches in embroidery is the straight stitch. This simple stitch is perfect for outlining shapes or creating fine lines in your design. To create a straight stitch, simply bring the needle up through the fabric, then down in a straight line to form the desired length. Repeat this process to create a series of straight stitches in a row.
Another essential stitch to master is the satin stitch. This stitch is great for filling in larger areas of your design with smooth, solid color. To create a satin stitch, bring the needle up through the fabric at one end of the area to be filled, then weave the thread back and forth horizontally until the entire area is covered. Make sure to keep the stitches close together for a seamless finish.
Choosing the Right Tools and Materials for Your Embroidery Project
When starting an embroidery project, one of the first steps is selecting the right tools and materials to make your project a success. Having the right supplies can make a huge difference in the outcome of your work. Below are some key considerations when choosing tools and materials for your embroidery project:
- Needle: Choose a needle based on the fabric you are working with. For example, a sharp needle is ideal for lightweight fabrics, while a sturdy needle is better for heavier materials.
- Thread: Select a high-quality embroidery thread that is suitable for your project. Make sure to match the color of the thread with your design.
- Hoops: Use an embroidery hoop to keep the fabric taut while stitching. Hoops come in various sizes, so choose one that fits the size of your project.
- Fabric: Pick a fabric that complements your design and is appropriate for embroidery. Cotton, linen, and silk are popular choices for embroidery projects.
By carefully selecting the right tools and materials for your embroidery project, you can set yourself up for success and create a beautiful finished piece. Experimenting with different supplies and techniques can also help you discover what works best for your particular style and preferences. Remember to have fun and enjoy the process of creating something unique with embroidery!
Step-by-Step Guide to Starting Your First Embroidery Project
One of the first things you’ll need to do before starting your first embroidery project is to gather all the necessary supplies. Make sure you have a hoop, fabric, embroidery floss, needles, and embroidery patterns. Don’t forget to pick out a design that you find appealing and that fits your skill level.
Next, prepare your fabric by placing it in the embroidery hoop and securing it tightly. This will ensure that your fabric stays in place while you work on your project.
Now it’s time to choose your colors and start stitching! Use a simple backstitch or satin stitch to outline your design and fill it in. Take your time and remember that practice makes perfect.
Once you’ve completed your embroidery project, remove it from the hoop and trim any excess fabric. You can then frame your masterpiece or turn it into a cute patch or pin to show off your newfound embroidery skills. Remember, the more you practice, the better you’ll get!
Helpful Tips and Tricks for Beginner Embroiderers
Whether you’re looking to start a new hobby or add a personal touch to your projects, embroidery is a great skill to learn. As a beginner embroiderer, there are a few tips and tricks that can help you get started on the right foot.
One important thing to remember is to start with the right materials. Make sure you have good quality embroidery floss, needles, and fabric. It’s also helpful to have a hoop to keep your fabric taut while you work.
Practice different stitches to create texture and dimension in your designs. Some basic stitches to start with include the backstitch, satin stitch, and French knot. Experiment with different thread colors and thicknesses to see what works best for your projects.
Don’t be afraid to make mistakes – embroidery is all about experimenting and learning. If you need help, there are plenty of resources online, from tutorials to forums where you can ask questions and get advice from more experienced embroiderers. Before you know it, you’ll be creating beautiful, unique designs that showcase your creativity and skill. As you begin your journey into the world of embroidery, remember to be patient with yourself and allow room for mistakes. With practice and dedication, you will soon be creating beautiful works of art with each stitch. Let your creativity and imagination soar as you explore this timeless craft. Happy stitching!
