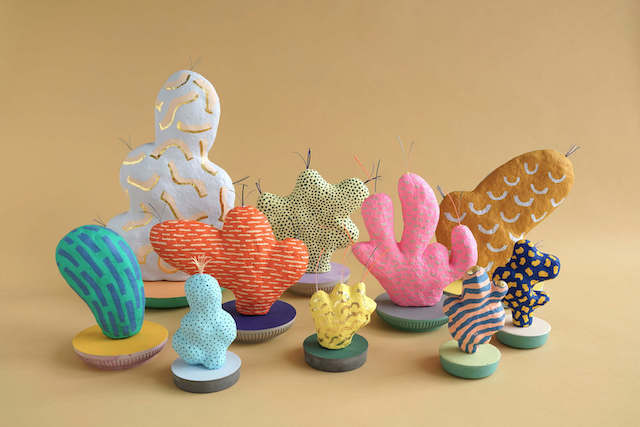
Have you ever wanted to unleash your inner artist and create unique, customized crafts? Look no further than the versatile world of paper mache projects! This age-old crafting technique allows you to mold paper and glue into almost any shape you desire, resulting in one-of-a-kind creations that are sure to impress. In this article, we will take you step-by-step through the process of making your own paper mache projects, from start to finish. Get ready to bring your creative ideas to life!

Getting Started with Paper Mache Projects
To create stunning paper mache projects, you’ll need just a few supplies and a lot of creativity. Here’s a step-by-step guide on how to get started:
- Newspaper
- White glue
- Water
- Paintbrushes
- Acrylic paint
- Scissors
- Balloons or cardboard shapes
- Tear newspaper into small strips.
- Mix white glue with water in a 1:1 ratio to create the paste.
- Blow up a balloon or shape cardboard into the desired shape for your project.
- Dip the newspaper strips into the paste and smooth onto the balloon or cardboard, layering until the entire surface is covered.
- Allow the project to dry completely before painting and adding any additional details.
With these simple steps and a little bit of practice, you’ll be able to create unique and beautiful paper mache projects for any occasion. Let your imagination run wild and see where your creativity takes you!
Choosing the Right Materials for Your Project
For paper mache projects, choosing the right materials is essential to ensure the success of your creation. Here are some key materials that you will need for your paper mache project:
- Newspaper: Newspaper is the main material for paper mache projects. Tear it into strips or small pieces for layering.
- White Glue: White glue is used as the adhesive to hold the newspaper strips together. It is important to use a good quality glue for better results.
- Water: Water is used to dilute the white glue to create the paste for paper mache. Make sure to use the right ratio of glue to water for the perfect consistency.
- Balloon or Mold: Depending on the shape of your project, you will need either a balloon or a mold to form the base of your paper mache creation.
Once you have gathered all the materials, you can start your paper mache project. Start by blowing up the balloon or preparing the mold. Dip the newspaper strips into the glue mixture and apply them to the base, layer by layer. Let each layer dry before adding the next one. Once you have completed all the layers, let the project dry completely before painting and decorating it.
Step-by-Step Guide to Creating Paper Mache Art
Are you ready to unleash your creativity and make stunning paper mache art pieces? Follow this step-by-step guide to create beautiful projects that will impress everyone!
First, gather all the necessary materials such as newspaper strips, flour, water, paint, and a base for your project. Prepare your work area by covering it with newspapers or a plastic tablecloth to prevent a mess.
Next, create your paper mache paste by mixing flour and water until you achieve a smooth, glue-like consistency. Dip the newspaper strips into the paste, making sure they are fully saturated.
Now, start layering the strips onto your base, whether it’s a balloon, a cardboard box, or a wire frame. Repeat this process until you have reached your desired thickness, allowing each layer to dry before adding the next one.
Finishing Touches and Displaying Your Masterpiece
To add the finishing touches to your paper mache masterpiece, consider painting it with bright, vibrant colors that will make it stand out. Use acrylic paints for a smooth and durable finish. Let each layer dry completely before adding another coat to avoid smudging or streaking.
After the paint has dried, you can add details and accents using items such as sequins, beads, or ribbons. Get creative with your decorations to personalize your project and make it truly unique. You can also add a coat of clear varnish to seal the paint and give your creation a glossy finish.
When displaying your paper mache creation, consider placing it on a sturdy base such as a wooden pedestal or a decorative plate. This will help showcase your masterpiece and protect it from accidental damage. You can also add LED lights inside your project to make it glow and stand out even more. Let your imagination run wild when presenting your paper mache project to truly make it shine. In conclusion, paper mache is a versatile and fun crafting technique that allows you to create endless possibilities. Whether you’re making masks, sculptures, or even piñatas, the potential for creativity is boundless. So grab some newspaper, flour, and water, and let your imagination run wild as you embark on your paper mache project journey. Who knows what masterpieces you’ll create? The only limit is your own imagination. So go forth and get crafting!
