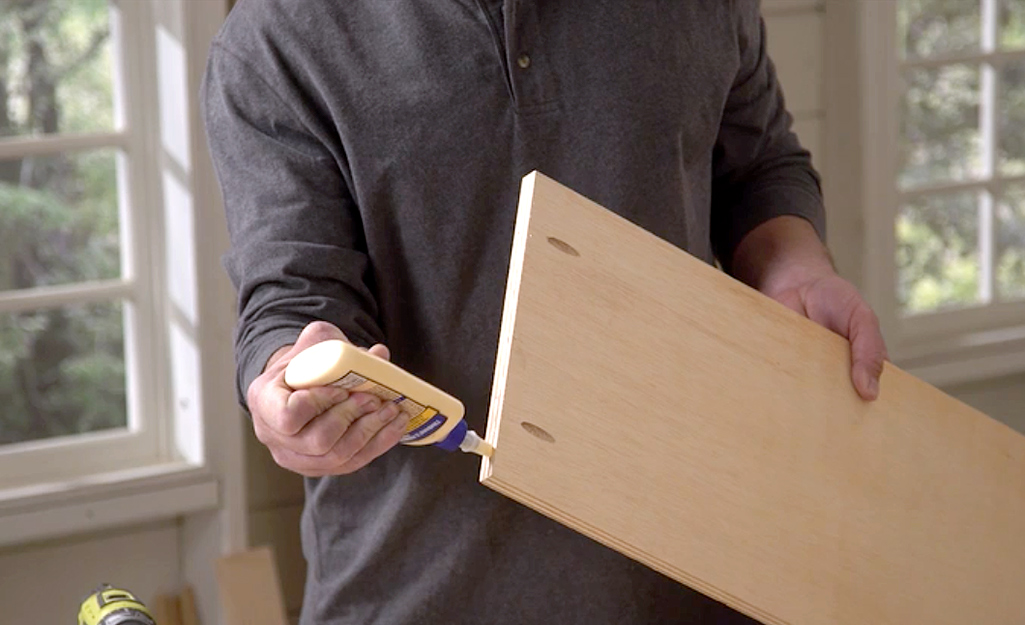
Have you ever wanted to create your own customized bookshelf but didn’t know where to start? Look no further! In this step-by-step guide, we will walk you through the process of building your very own bookshelf from scratch. Whether you’re a seasoned DIY enthusiast or a complete newbie, this guide is sure to help you bring your bookshelf dreams to life. So grab your tools and let’s get started on this exciting project!

Choosing the Right Materials for Your Bookshelf Project
One of the most important steps in building your own bookshelf is choosing the right materials. The materials you choose will not only affect the overall look of your bookshelf but also its durability and functionality. Here are some factors to consider when selecting materials for your project:
- Wood Type: Consider the type of wood you want to use for your bookshelf, such as pine, oak, cherry, or walnut. Each type of wood has its own unique characteristics and appearance.
- Board Thickness: The thickness of the boards you choose will impact the strength of your bookshelf. Thicker boards are more durable but may be heavier, while thinner boards are lighter but may not be as strong.
- Finish: Decide on the finish you want for your bookshelf, whether it’s a natural wood finish, painted, stained, or varnished. The finish will affect the overall aesthetic of your project.
Once you have chosen the right materials for your bookshelf project, you can move on to the next steps in the building process. By taking the time to carefully select your materials, you can ensure that your bookshelf turns out exactly how you envisioned it.
Measuring and Cutting the Wood for Each Shelf
To create each shelf of your custom bookshelf, you will first need to carefully measure and cut the wood to the appropriate dimensions. This step is crucial to ensure that all the shelves fit together seamlessly and that your bookshelf is sturdy and stable.
Start by measuring the length and width of each shelf you plan to include in your bookshelf design. Use a tape measure to get precise measurements, and double-check your calculations to avoid any mistakes. Once you have your measurements, mark them on the wood using a pencil or a fine-tipped marker.
Next, it’s time to cut the wood to the correct dimensions. Use a saw, such as a circular saw or a table saw, to make clean, straight cuts. Take your time and pay attention to detail to ensure that each cut is accurate. It may be helpful to use a cutting guide or a square to help keep your cuts straight and true.
After cutting the wood for each shelf, it’s a good idea to sand down the edges to remove any rough spots or splinters. This will not only make your shelves look more polished but also prevent any injuries while handling the wood. Once all the shelves are cut and sanded, you are ready to move on to the next step in building your custom bookshelf.
Assembling and Finishing Your Custom Bookshelf
Now that you’ve finished building the individual shelves for your custom bookshelf, it’s time to put it all together and apply the finishing touches. Follow these steps to complete your project:
Tips for Customizing Your Bookshelf Design
Are you looking to add a personal touch to your bookshelf design? Here are some tips to help you customize your bookshelf:
- Choose the Right Materials: Consider using reclaimed wood for a rustic look or sleek metal for a more modern feel.
- Paint or Stain: Add a pop of color by painting your bookshelf or enhance the natural wood grain with a stain.
- Add Decorative Elements: Incorporate decorative brackets, molding, or trim to give your bookshelf a unique flair.
- Personalize with Accessories: Display photographs, plants, or other trinkets to make your bookshelf truly your own.
| Material | Style |
|---|---|
| Reclaimed Wood | Rustic |
| Metal | Modern |
By following these steps, you can create a bookshelf that not only holds your favorite reads but also reflects your unique style and personality.
And there you have it, a step-by-step guide to building your very own bookshelf. With a little creativity and patience, you can create a beautiful and functional piece of furniture that will showcase your love for reading. So grab your tools and get started on this DIY project that is sure to bring a personal touch to your home. Happy building!
